Building a Next.js website with just one language may represent a limitation for your users. At the same time, adapting your website to many languages can turn into a tricky and time-consuming task. This is the cost of internationalization, or i18n, and it is why websites should be designed as multi-language from the beginning. This way, you will be able to provide a natural experience to virtually billions of users natively.
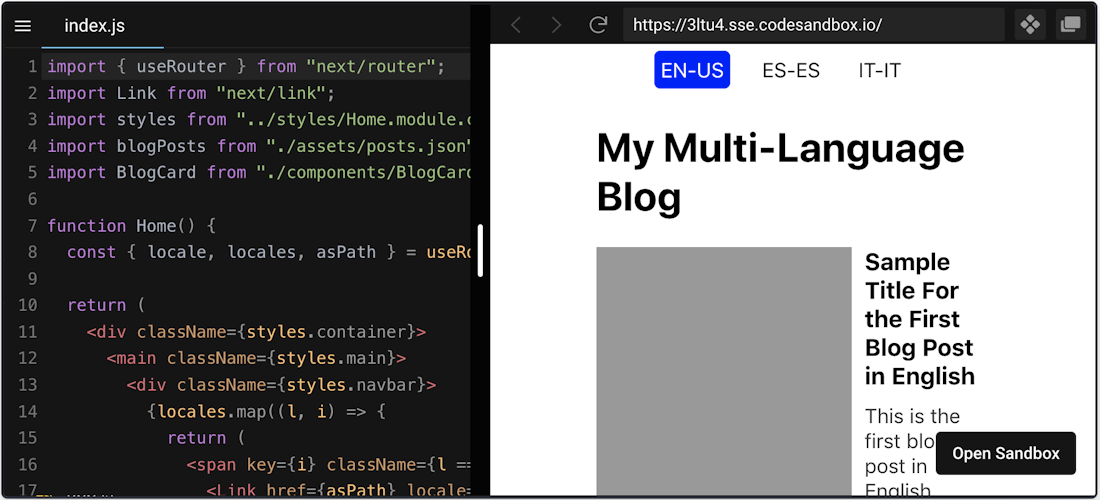
So, let’s see how to build an international multi-language website in JavaScript and Next.js from scratch. By the end of this tutorial, you will have learned how to achieve the following result:

Internationalization and i18n
As defined by the W3C, internationalizing means designing content, application, specification, and more in a way that ensures it will work well for, or can be easily adapted for, users from any culture, region, or language. In other words, internationalization is the development of products of any type that fit or can be adapted with little effort to different target audiences. The same concept can also be referred to as globalization.
Internationalization is usually abbreviated to i18n. This is because there are actually 18 letters between the “i” and the “n”, representing the first and last letter of the word. Thus, you might see the word “internationalization” and “i18n” used interchangeably. Other important elements related to internationalization are represented by locales. A locale is a language supported in an internationalized application. Locales are usually identified by the UTS Locale Identifiers, which involve both language and region. For example, Italian in Italy is it-IT, while English in the US is en-US and English in the United Kingdom is en-EN.
Over time, internationalization has become one of the most desirable features by users. This is why the most popular software applications support many languages. Keep in mind that making your application available to the whole world comes with some challenges. In particular, implementing i18n correctly means being able to change content language without breaking the layout or UI (User Interface). Such a task cannot be overlooked.
Let’s see how internationalization works in Next.js.
Implementing Internalization in Next.js
As stated in the official documentation, Next.js has built-in support for internationalized applications since version 10.0.0. Specifically, it allows you to provide a list of locales. This must contain a default locale, as well as optional locales that Next.js will automatically handle while routing. This also means that no external libraries are required to implement i18n. So, let’s see how to build a multi-language website in Next.js step by step.
Prerequisites
This is the list of all the prerequisites for the demo application:
Node.js 12+ and npm 5.2+ and higher
Building a Multi-Language Website with Next.js i18n
You can clone the GitHub repository supporting the article and try the demo international blog you will learn how to build by launching the following commands:
git clone https://github.com/Tonel/multi-language-blog-demo-nextjscd multi-language-blog-demo-nextjsnpm inpm run devOtherwise, you can keep following this step-by-step tutorial and build the multi-language blog by yourself.
1. Initializing a Next.js Project
Creating an empty working project in Next.js is easy thanks to Create Next App, which is the officially supported way to generate a Next.js blank application. You can initialize a new project called multi-language-demo by launching the command below:
npx create-next-app multi-language-blog-demo-nextjsYou will now have a blank project located in the multi-language-blog-demo-nextjs folder with the following file structure:
multi-language-blog-demo-nextjs├── README.md├── package.json├── .gitignore├── .eslintrc.json├── next.config.js│├── node_modules│ └── ...│├── public│ ├── favicon.ico│ └── vercel.svg│├── syles│ ├── globals.css│ └── Home.module.css│└── pages ├── _app.js ├── index.js └── api └── hello.jsEnter the multi-language-blog-demo-nextjs folder and start the local server by running these two commands:
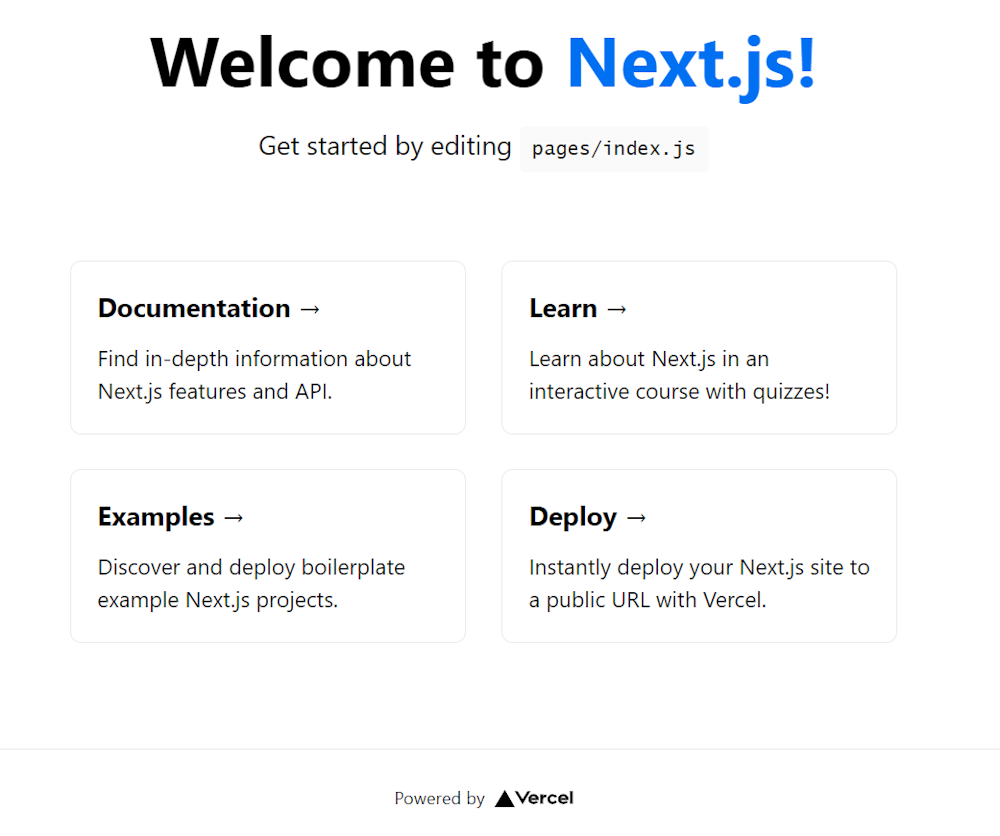
cd multi-language-blog-demo-nextjsnpm run devVisit http://localhost:3000/ in your browser, and you should now be able to see the default Create Next App screen, as follows:

2. Building a Multi-Language Website with i18n
First, you need to specify the locales supported by declaring them in your next.config.js, as follows:
module.exports = { i18n: { // providing the locales supported by your application locales: ["en-US", "es-ES", "it-IT"], // default locale used when the non-locale paths are visited defaultLocale: "en-US", },}What happens here is that the i18n configs are defined and passed to Next.js. Specifically, the array property locales defines what locales are supported, while the defaultLocale property defines the default locale to be used when non-localized paths are visited. In detail, the default behavior adopted by Next.js when dealing with internationalized routing is called sub-path routing.
This approach involves adding the locales as part of the URL paths. Let’s see how it works through an example. If you had a pages/blog.js file, then the following URLs would be available:
/blog
/es-ES/blog
/it-IT/blog
The first one corresponds to the default locale, which does not have a prefix. While the other two are the localized version of the same page. You can find more details about how internalized routing works in Next.js here.
Now, let’s take a look at the index.js page of the multi-language international blog demo example:
import Link from 'next/link';import { useRouter } from 'next/router';import styles from '../styles/Home.module.css';import blogPosts from './assets/posts.json';import BlogCard from './components/BlogCard';
function Home() { const { locale, locales, asPath } = useRouter();
return ( <div className={styles.container}> <main className={styles.main}> <div className={styles.navbar}> {locales.map((l, i) => { return ( <span key={i} className={l === locale ? styles.selected : ''}> <Link href={asPath} locale={l}> {l} </Link> </span> ); })} </div> <div> <h1>My Multi-Language Blog</h1> <div> {blogPosts.posts .filter(p => p.locale === locale) .map((blogPost, i) => { return <BlogCard key={i} blogPost={blogPost} />; })} </div> </div> </main> </div> );}
export default Home;As you can see, all info about Next.js i18n is retrieved through the useRouter() hook.
This allows you to access the string containing the complete current page path (asPath), all supported locales (locales), the defined default locale (deafultLocale), and the currently active locale (locale). The latter is used to filter the content and get only the blog posts related to the desired language.
In the first section, the configured locales are used to create a menu to select the language and navigate between the localized version of the home page. Then, the blog posts referring to the selected language are shown. These are retrieved from the posts.json file. As you are going to learn, putting your content in an external .json file is a common approach, although having some pitfalls.
This is what such a file looks like:
{ "posts": [ { "locale": "en-US", "title": "Sample Title For the First Blog Post in English", "description": "This is the first blog post in English published on the blog", "image": "https://source.unsplash.com/GnvurwJsKaY/1600x900" }, { "locale": "en-US", "title": "Sample Title For the Second Blog Post in English", "description": "This is the second blog post in English published on the blog", "image": "https://source.unsplash.com/8XddFc6NkBY/1600x900" }, { "locale": "es-ES", "title": "Título de ejemplo para la primera entrada en español del blog", "description": "Esta es la primera entrada del blog en español publicada en el blog", "image": "https://source.unsplash.com/0gkw_9fy0eQ/1600x900" }, { "locale": "es-ES", "title": "Título de ejemplo para la segunda entrada en español del blog", "description": "Esta es la segunda entrada del blog en español publicada en el blog", "image": "https://source.unsplash.com/q10VITrVYUM/1600x900" }, { "locale": "it-IT", "title": "Titolo di esempio per il primo post in italiano del blog", "description": "Questo è il primo post in italiano pubblicato nel blog", "image": "https://source.unsplash.com/xG8IQMqMITM/1600x900" } ]}Et voilà! Implementing a multi-language website with Next.js i18n takes only a bunch of lines of code. Note that the blog just build is the same shown in the live demo placed at the beginning of this article.
Generating Multi-Language Content
As you just learned, implementing a multi-page international website in Next.js is not complex. On the contrary, the real issue lies in generating multi-language content. Crafting localized content, and then provide it to each page, represent the biggest challenge when it comes to i18n. The two most common approaches involve storing your multilingual content locally in JSON files, or remotely in a database. In both cases, the main pitfall is that adding a new language involves dealing with technologies that only developers might be able to use.
This is a major drawback, especially considering that your internationalization team might be composed primarily of content creators, not engineers. Consequently, solutions to avoid this issue have thrived in recent years. Specifically, headless CMSs represent a solution to this and many other problems. Now, let's take a look at why a headless CMS like DatoCMS can be used as a Next.js CMS to avoid the aforementioned internationalization issues.
Next.js i18n Made Easy with DatoCMS
Being created by Italians, DatoCMS was envisioned with multi-language in mind. That is why it has been engineered to make creating multi-locale content as simple and customizable as possible.
To get started integrating DatoCMS in your multi-language Next.js project, you can read this article from the official documentation, followed by this tutorial on localization. You should be able to learn how effortlessly it is to add new locales, craft and update multilingual content, handle translator roles and locale permissions in DatoCMS.
Or you can start right away with DatoCMS's Next.js i18n demo, a sample project that provides:
A fully set-up DatoCMS project with two locales;
A GitHub repo containing the template code;
Deployment to your Vercel or Netlify account;
Click on the button to get started

This is what the end result looks like:
https://nextjs-demo-i18n.vercel.app/
Conclusion
In this article, we looked at how to build a multi-page international website in Next.js from scratch. Internationalization is a concept that should be familiar to whoever plans to launch or build a website. Plus, it is easy to implement with technologies like Next.js, as we just saw. On the other hand, the main challenge lies in generating multilingual content. This should be affordable for everyone, regardless of their technology-related skills. So, if you do not want to implement everything required to make this accessible to anyone, you might take advantage of an all-in-one and complete solution – such as DatoCMS.
DatoCMS works seamlessly with Next.js, so we covered a lot of common issues and perks of using Next.js in our blog. For further reading, we suggest:
...or you can always read all the details in our documentation.
Thanks for reading! We hope that you found this article helpful. Feel free to reach out to us on Twitter with any questions, comments, or suggestions.
