Use Link as Defaults
This plugin provides the developer with an easy way to configure fields that a CMS user can overwrite manually when linking an entity.
DatoCMS Plugin: Use Link as Defaults
This plugin provides the developer with an easy way to configure fields that a CMS user can overwrite manually when linking an entity.
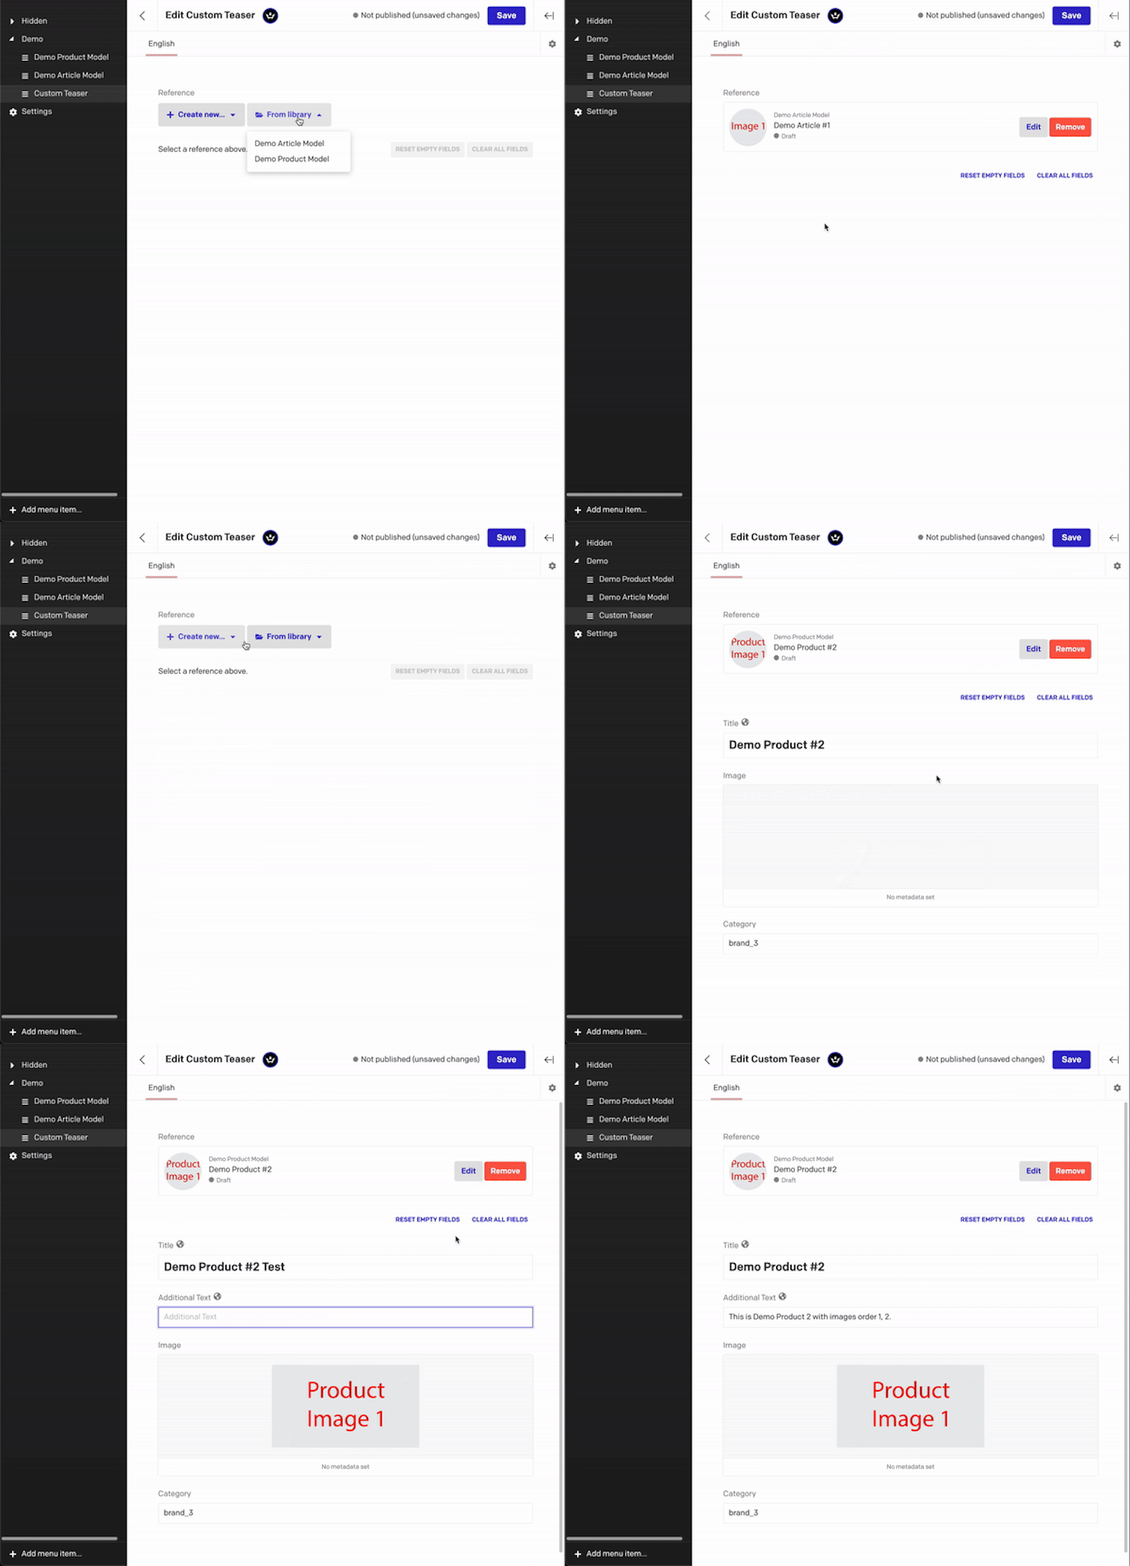
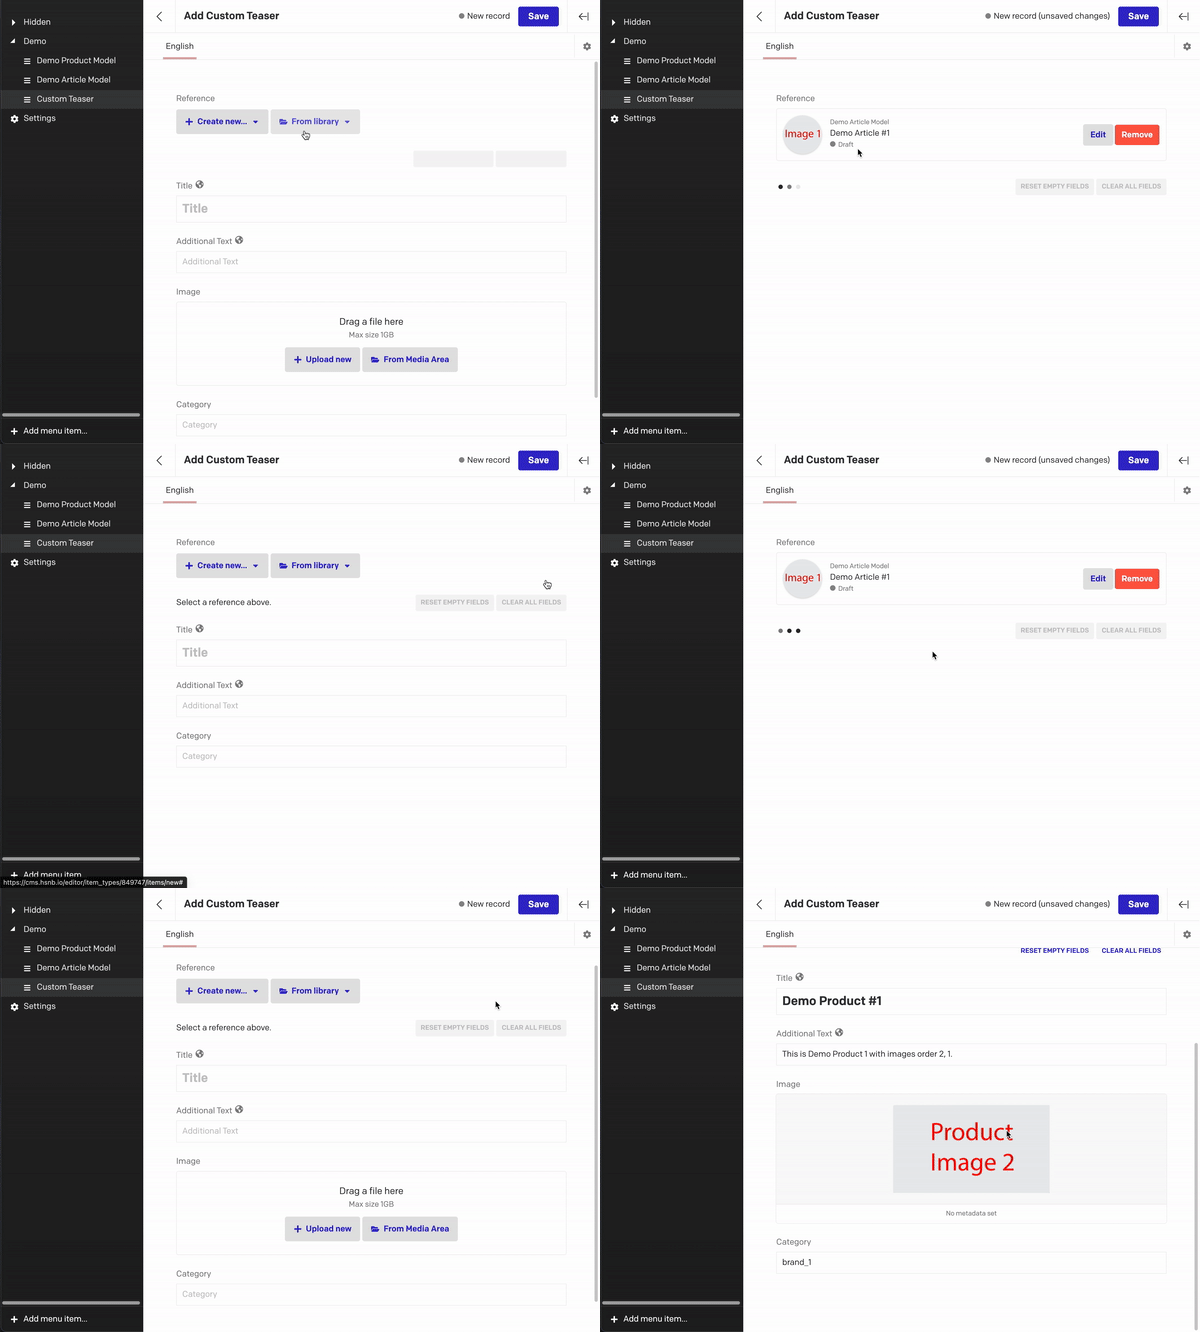
The CMS user selects an instance of a model and fields are being prefilled with data coming from the selected entity.
You can add this field addon only to single link fields.
Preview

What this plugin can do for you
Let's imagine the following scenario: You have a website where you want to display certain models on your front page. DatoCMS solves this for you by linking different references. Unfortunately, these linked entities can not be customized for this one specific link to the homepage. Here is where this plugin will help you out. It lets you link whatever model you want and offers you the option to provide a mapping function that will then map fields from the linked element and use them as default values on a custom teaser.
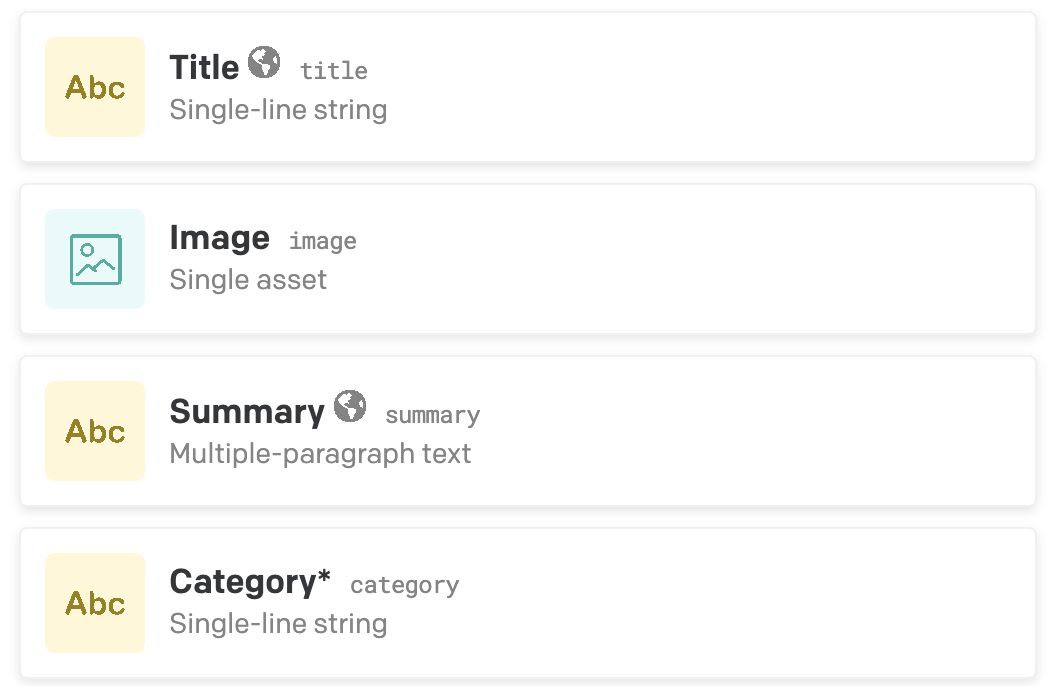
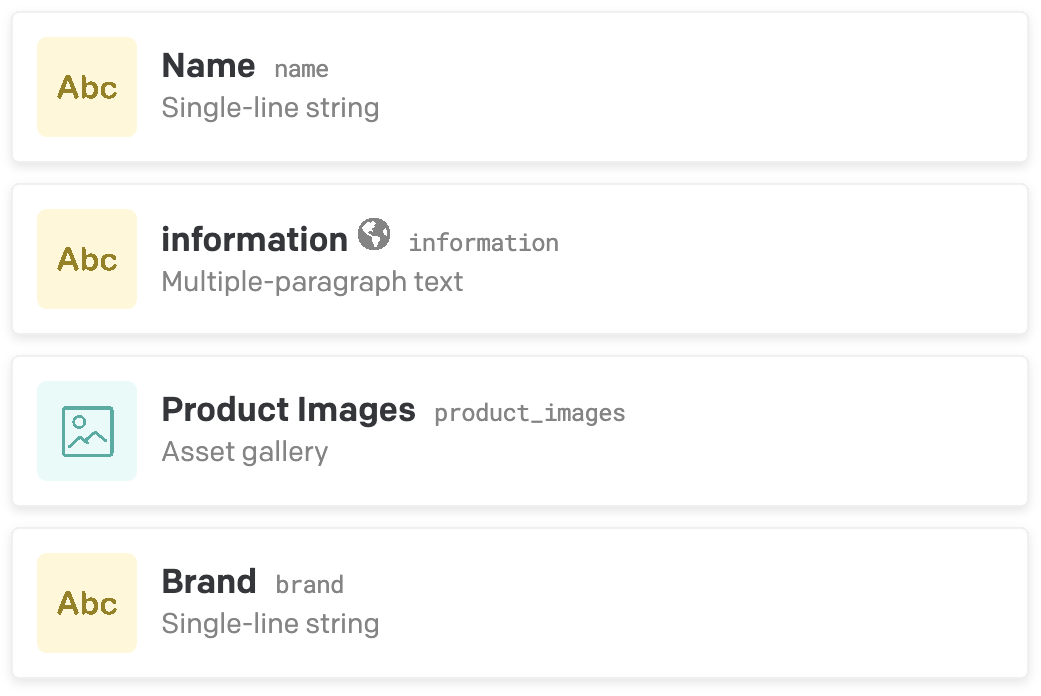
So let's image, an editor wants to feature an article and a product on your frontpage. Let's further assume we have two models defined as follow:
| Article Model | Product Model |
|---|---|
 |  |
Let's create four instances of these models:
| Example 1 | Example 2 | |
|---|---|---|
| Article | 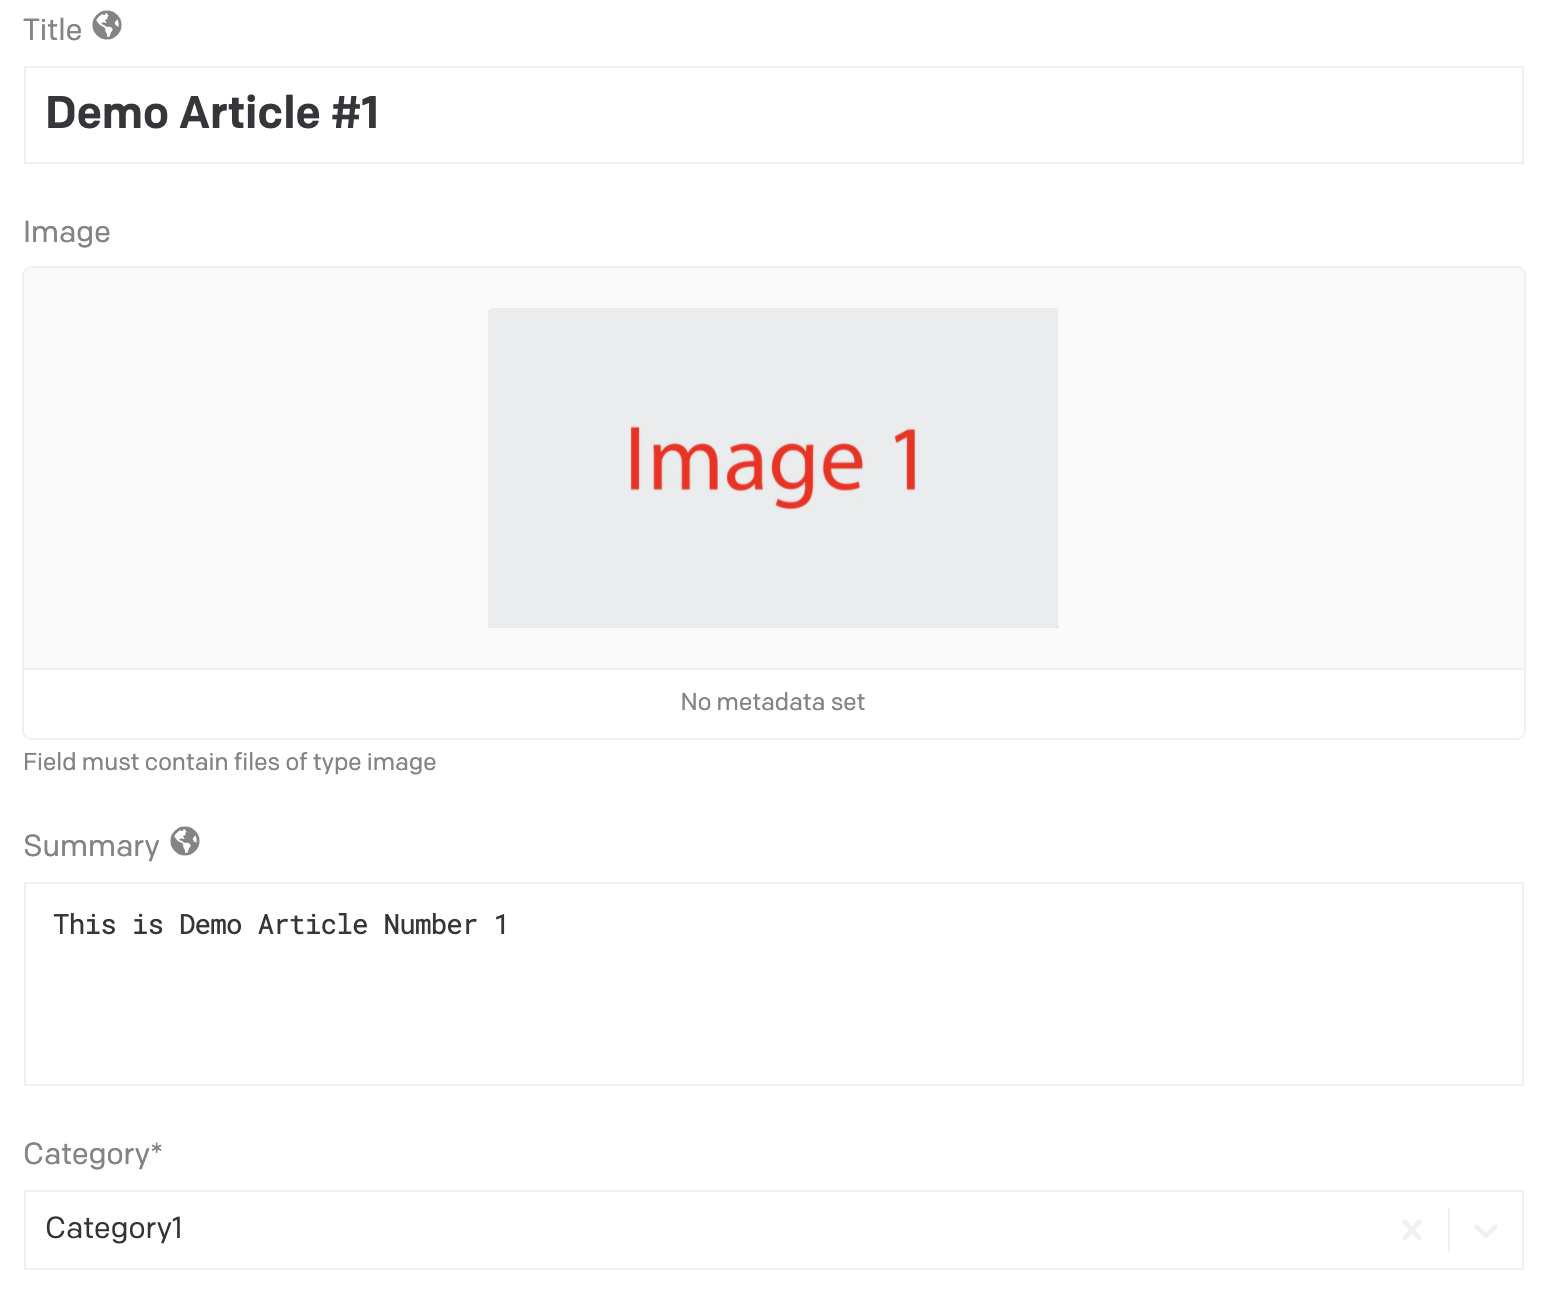 | 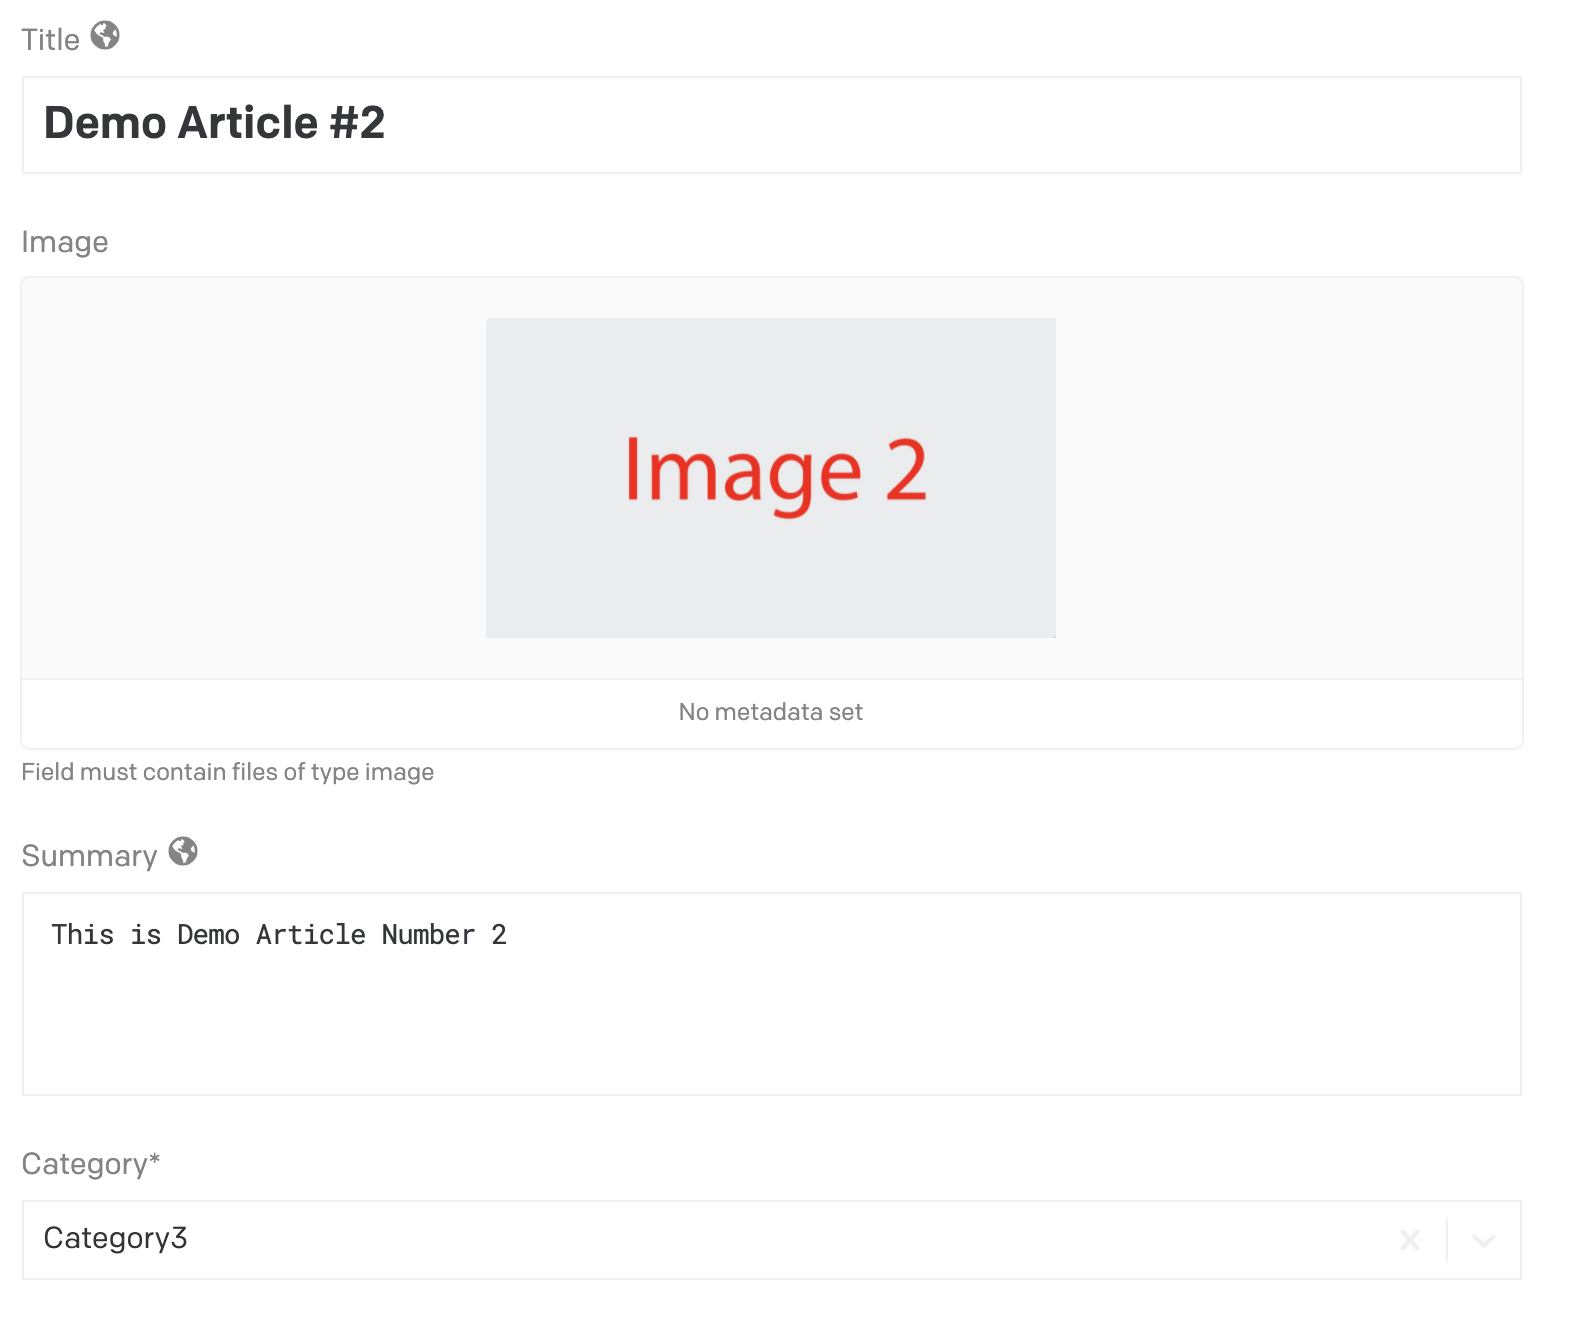 |
| Product | 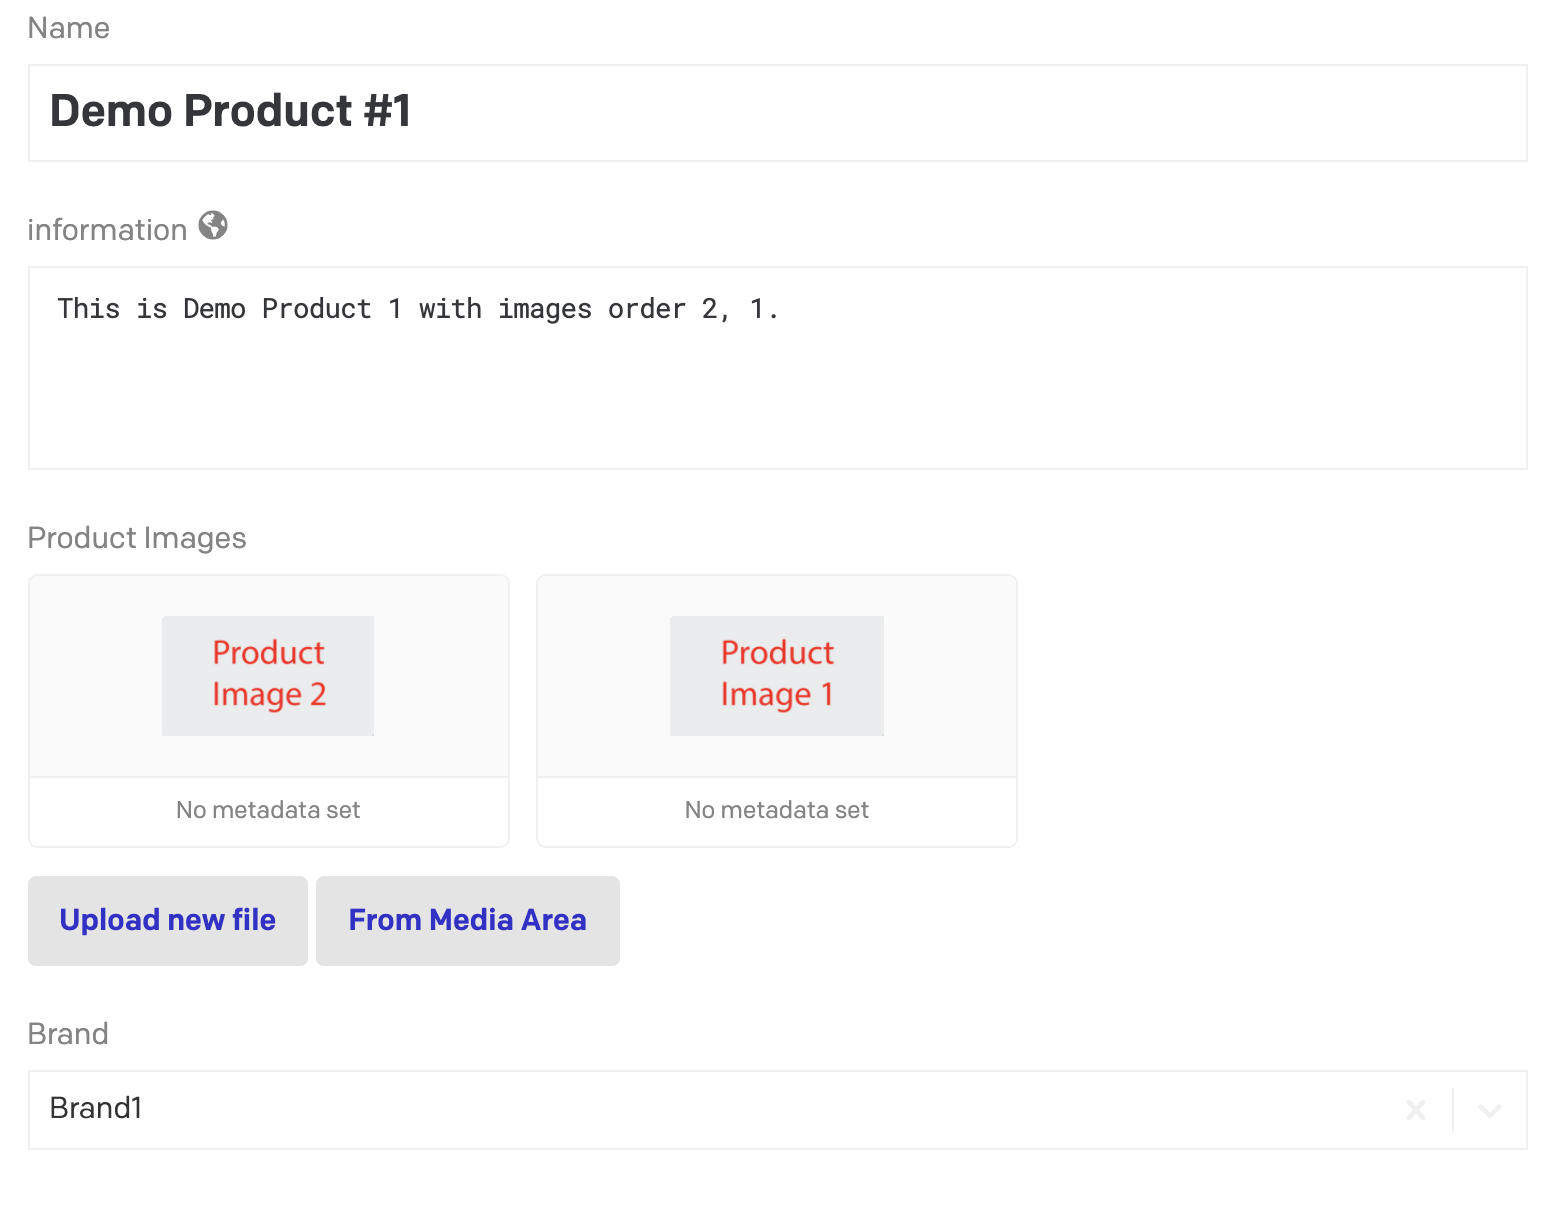 | 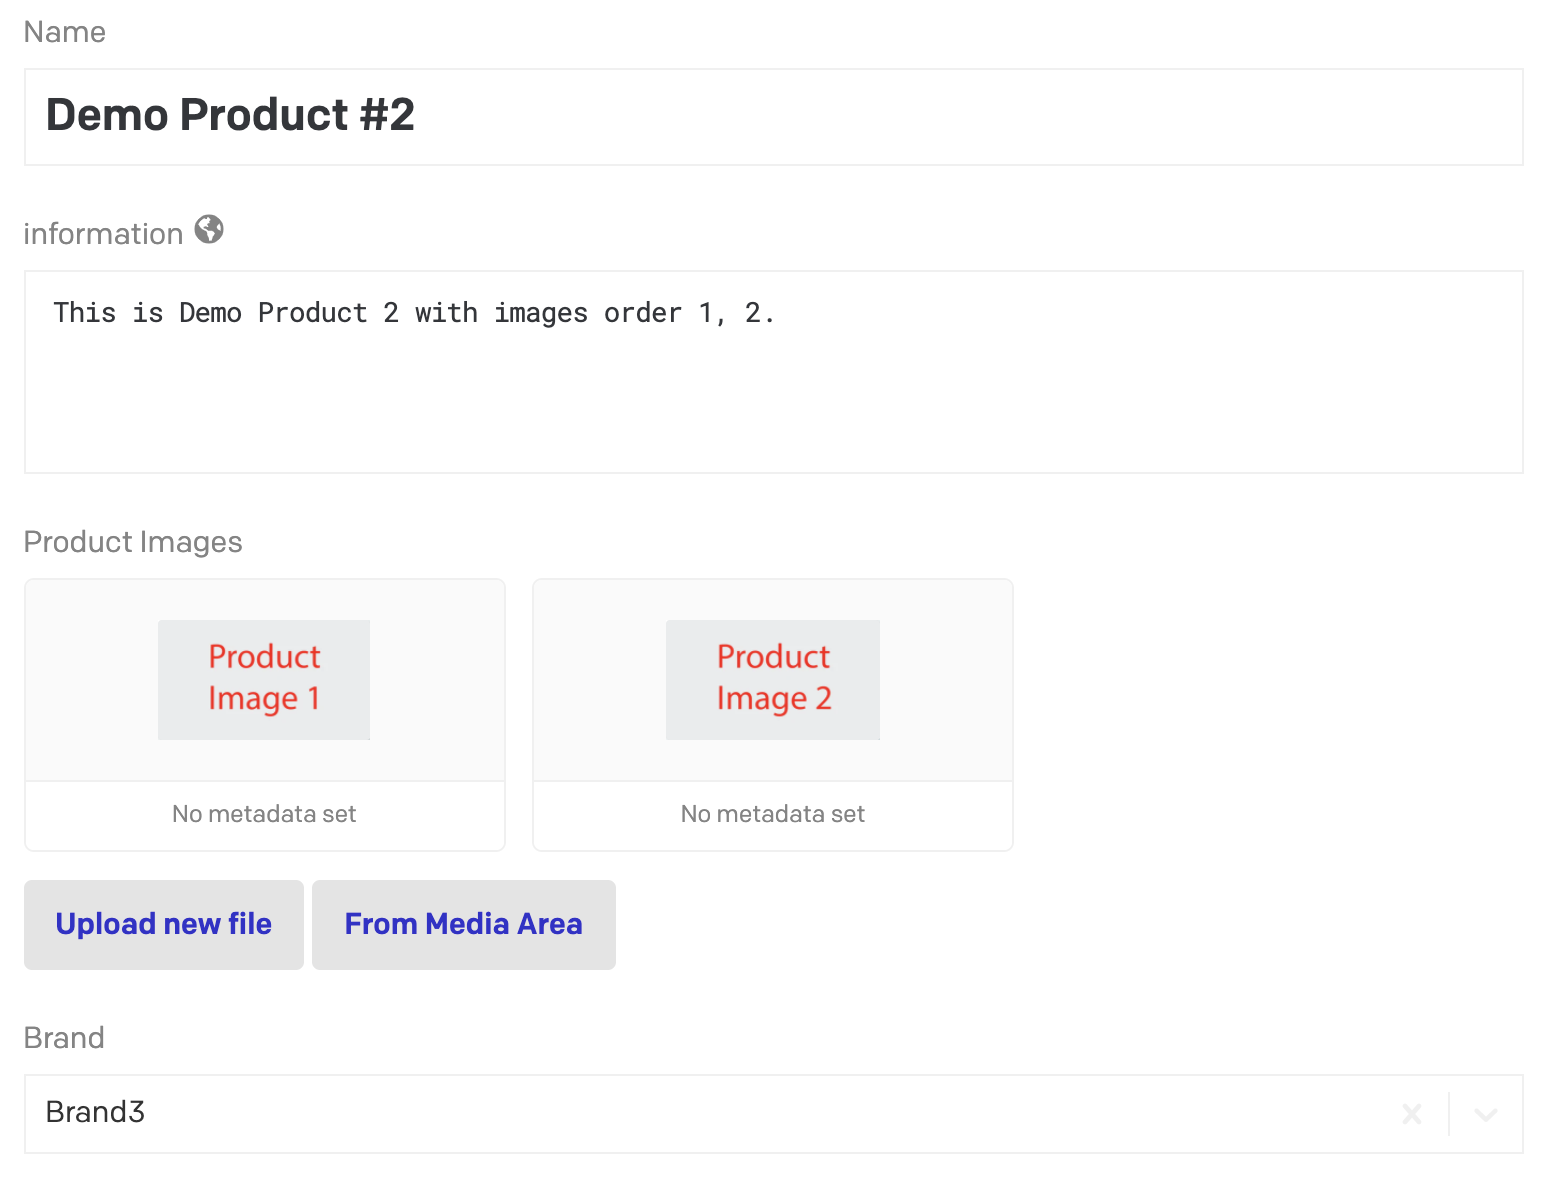 |
Now we will configure a custom teaser with these settings:
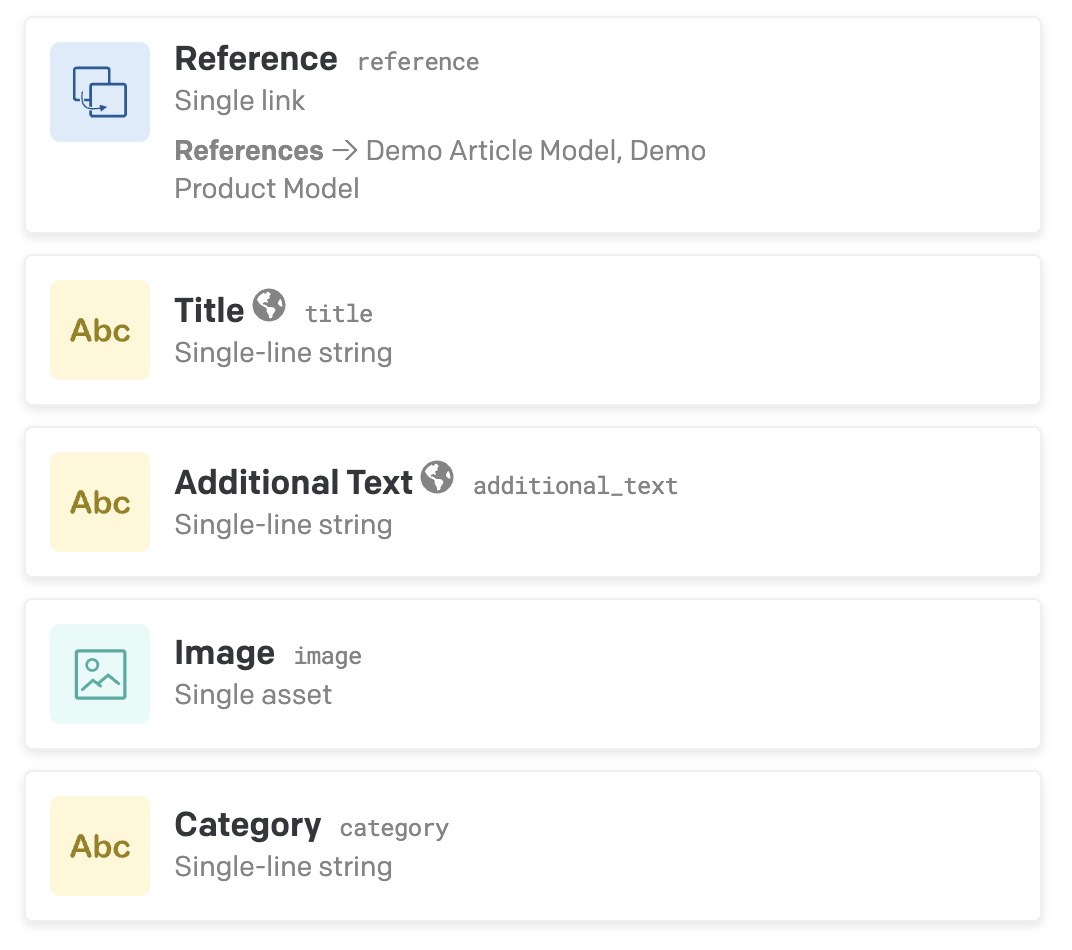
Where reference is of type single link and has both demo models selected. Within the edit section of the reference field, we set up the config. Go to presentation tab and select "Insert Addon" and select "Use Link as Defaults". A new field will be added called configuration which expects a valid JSON config.
Config for Custom Teaser
{ "fields": [ // list all fields of the current model "title", "additional_text", "image", "category" ], "assign": { "demo_article_model": { // selected models "title": "title", // map source field to target field "additional_text": "summary", "image": "image", "category": "category" }, "demo_product_model": { "title": "name", "additional_text": "information", "image": "product_images[0]", // use lodash like selectors "category": "brand" } }}That's it.
Demo
Use different models as reference and map fields.
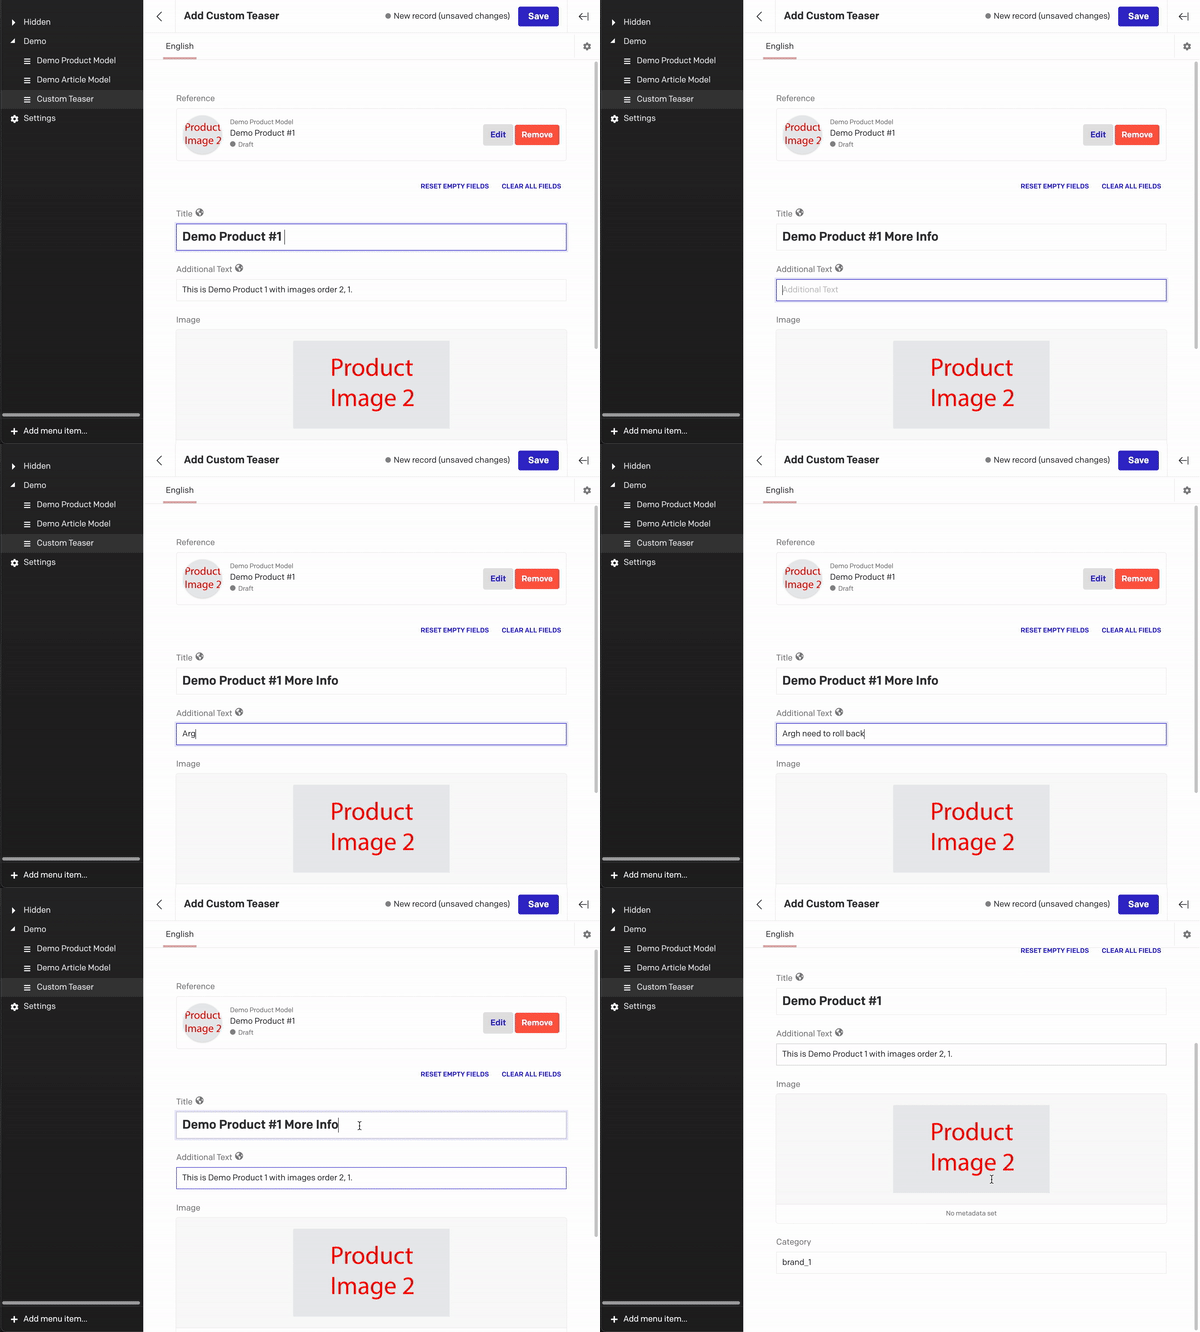
Overwrite specific fields manually and do not reset them. Empty them for resetting.
Plugin Configuration
{ "global": [ { "id": "developmentMode", "label": "Development Mode", "type": "boolean", "default": false, "hint": "Shows debug messages in console" }, { "id": "apiToken", "label": "Read-Only API Token", "type": "string", "required": true, "default": "", "hint": "The plugin needs to fetch data in order to display it." }, { "id": "textNothingSet", "label": "Text for nothing set state", "type": "string", "hint": "Default: Select a reference above" }, { "id": "textClearButton", "label": "Text for Clear Button", "type": "string", "hint": "Default: Clear all fields" }, { "id": "textResetButton", "label": "Text for Reset Button", "type": "string", "hint": "Default: Reset empty fields" } ], "instance": [ { "id": "config", "label": "Configuration", "type": "json", "required": true } ]}Instance Configuration
Structure:
{ "fields": ["targetFieldName"] "autoHide": boolean?, // default is true "assign": { "model1": { "targetFieldName": "sourceFieldName1", }, "model2": { "targetFieldName": "sourceFieldName2", } }}Examples:
{ "fields": [ "title", "additional_text", "image", "category" ], "autoHide": false, // fields are shown without reference "assign": { "product": { "title": "brand.name", "additional_text": "name", "image": "image", "category": "categories[0].name" // take the first categorie's name }, "category_page": { "title": "title", "additional_text": "introduction", "image": "products[1].image", // take the second image from linked field products "category": "products[0].categories[0].name" // linked field } }}
{ "fields": [ // list all fields of the current model "title", "additional_text", "image", "category" ], "autoHide": true, "assign": { "demo_article_model": { // selected models "title": "title", // map source field to target field "additional_text": "summary", "image": "image", "category": "category" }, "demo_product_model": { "title": "name", "additional_text": "information", "image": "product_images[0]", // use lodash like selectors "category": "brand" } }}Development
Install all the project dependencies with:
yarn installStart the local development server with:
yarn startThe plugin will be served from <http://localhost:5500/>. Insert this URL as the plugin Entry point URL.