OneLogin Single Sign-On
Enterprise integrationAutomatically provision and (most importantly) deprovision DatoCMS users using your centralized OneLogin account
Features
Automatic user provisioning is supported for the DatoCMS application.
This enables OneLogin to:
Add new users to DatoCMS
Update select fields in users’ profile information in DatoCMS
Deactivate users in DatoCMS
The following provisioning features are supported:
Push New Users
New users created through OneLogin will also be created in DatoCMS.
Push Profile Updates
Updates made to the user's profile through OneLogin will be pushed to DatoCMS.
Push User Deactivation
Deactivating the user or disabling the user's access to the application through OneLogin will deactivate the user in DatoCMS.
Import New Users
New users created in the third party application will be downloaded and turned into new AppUser objects, for matching against existing OneLogin users.
Configuration Steps
Enter from your OneLogin dashboard the Administration section by clicking the button in the upper right corner:

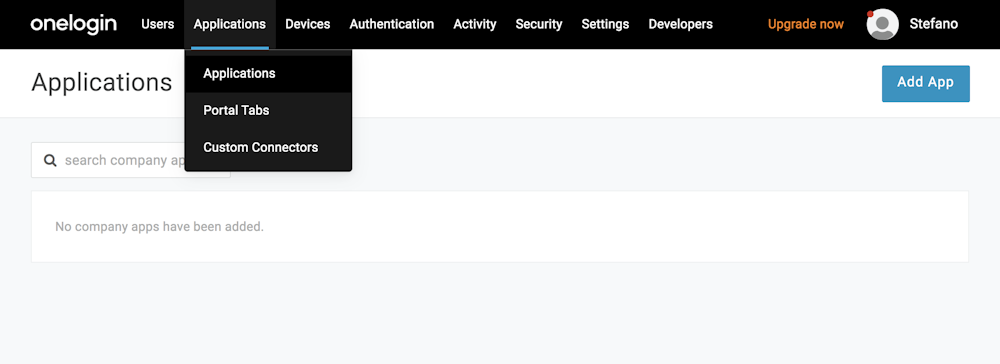
Then select Applications and click Add App:
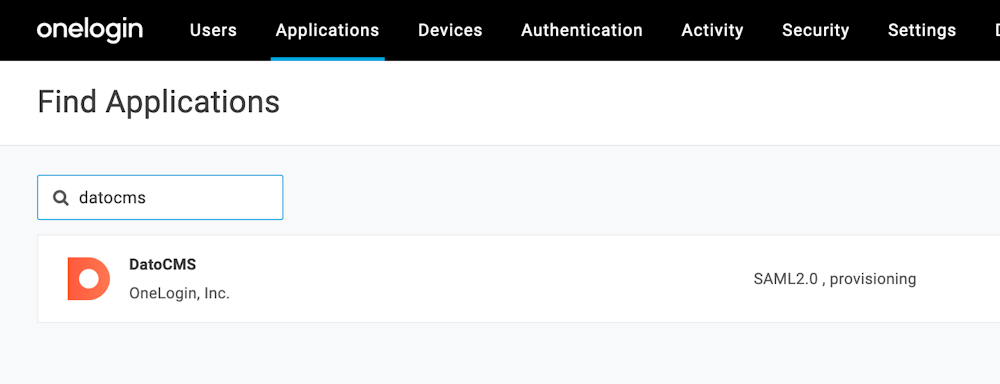
On the new page search for DatoCMS:
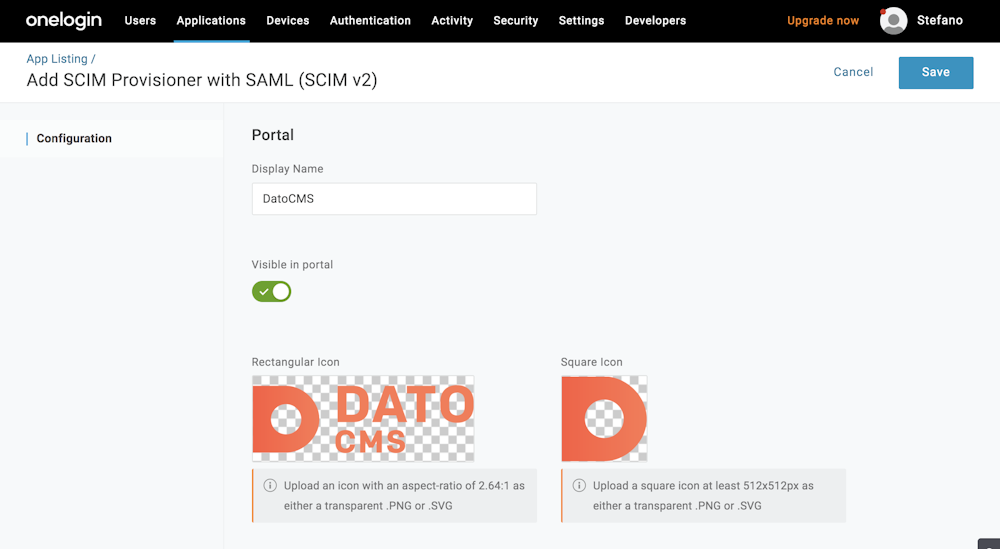
A new screen will appear. Give the new app a name and press Save:
Go into the Configuration page and under the API Connection section, fill in the following fields:
DatoCMS SAML Token: Copy the SAML Token field from DatoCMS and paste it here;
SCIM Bearer Token: Press the Generate API Token button under the SCIM Settings section in DatoCMS and paste it here;
When you're done, click the Save button, and then the Enable button. If everything works correctly, you should see the API Status marked as Enabled.
Now into the SSO page, copy the Issuer URL and paste it into the Identity Provider Metadata URL field in DatoCMS, and press the Save settings button:
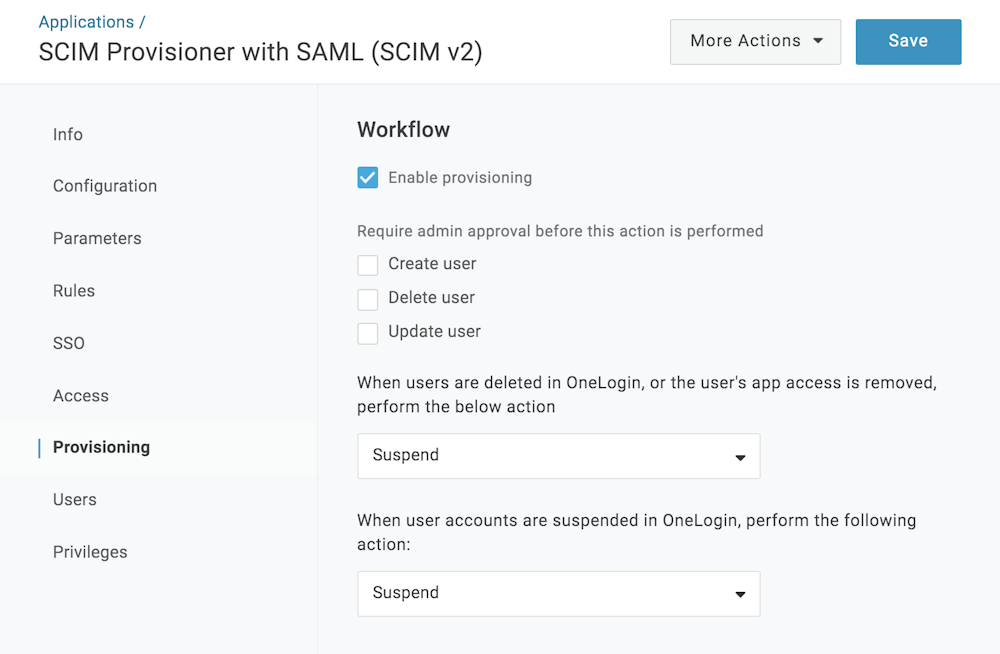
In the Provisioning section:
Check the Enable provisioning option;
Uncheck the options to require admin approval befor performing operations (Create user, Delete user, Update user);
You can also change the default settings to control what action must be performed in DatoCMS when users are deleted or suspended in OneLogin.
When you're done, press the Save button to confirm:
Import DatoCMS users in OneLogin
If you want to import existing users into OneLogin, enter the Provisioned users section in DatoCMS settings, and from there press the Sync with regular users button.
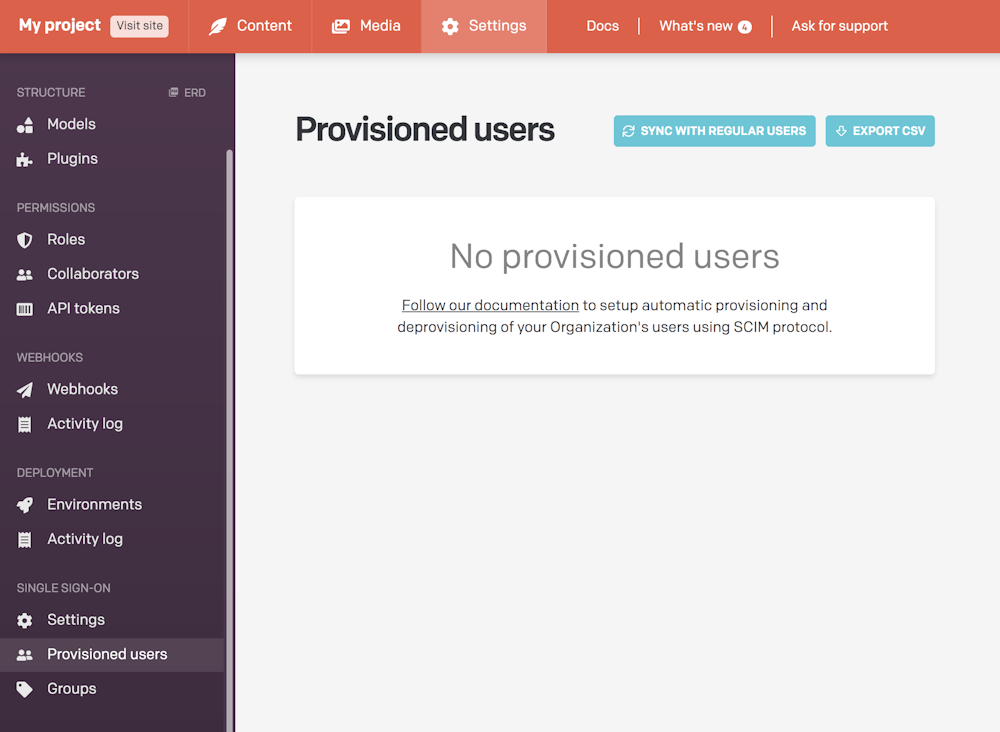
This will convert every DatoCMS collaborator into an SSO User:
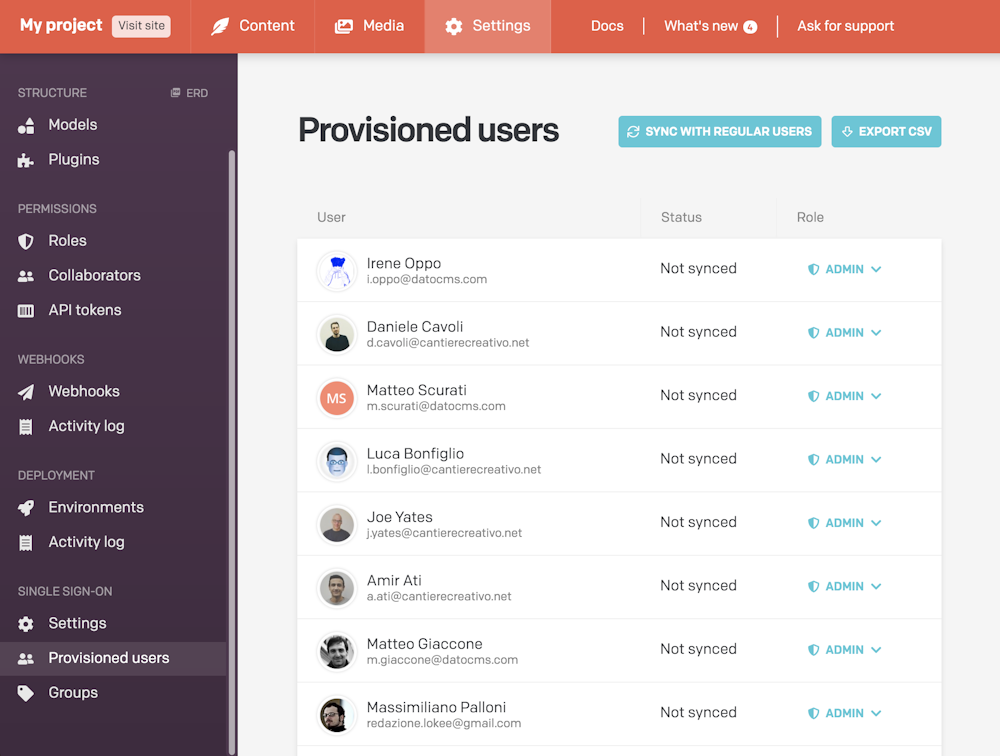
You can now press the Export CSV button to download the CSV export file. Now go to the Users section in OneLogin, and press the Import users button:

A new panel will open up: press the Upload File button, and select the CSV file previously downloaded from DatoCMS. Press Import to start the process:
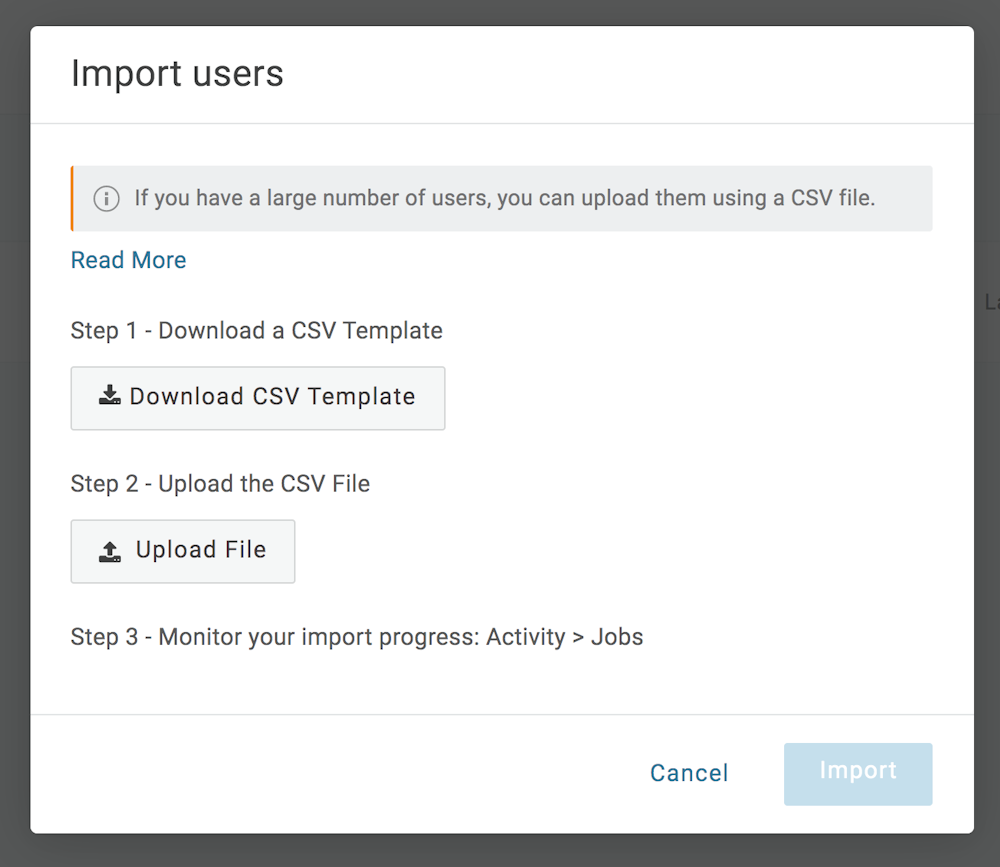
With OneLogin it's not possible to import memberships to an application, so you'll have add your existing users to the DatoCMS application manually.
Provisioning OneLogin users to DatoCMS
OneLogin provides various ways to assign users to applications. For testing purposes we can assign a single user under Users > [click on user name] > Applications tab. Click the '+' sign to assign your testing user to the DatoCMS application.
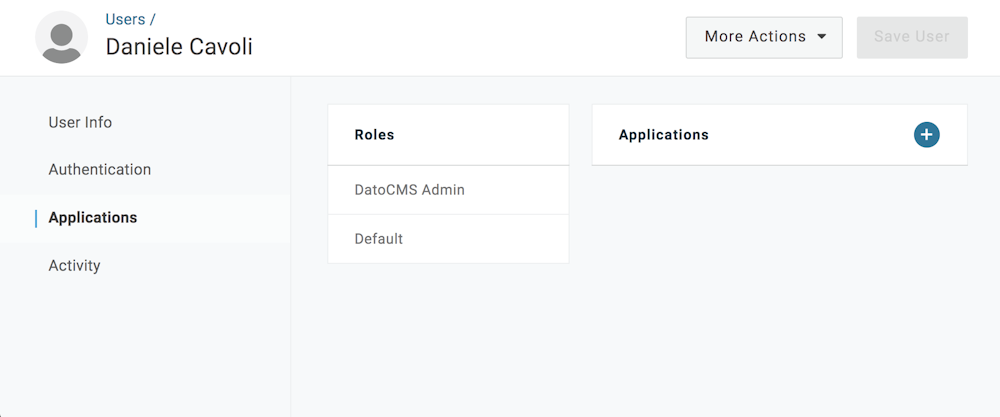
Additional information about assigning users to applications in OneLogin can be found in Assigning Apps to Users.
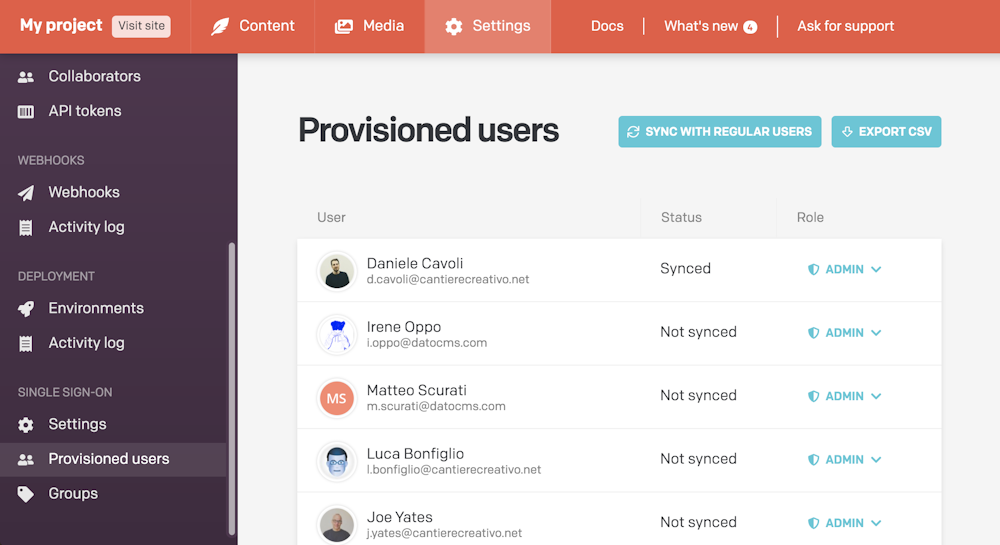
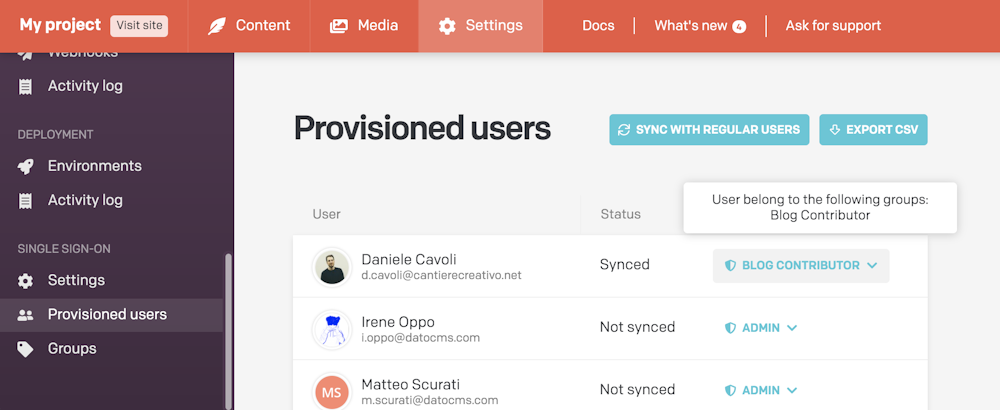
If the integration is working, you should now see the user present in DatoCMS under the Provisioned users section, with the status Synced:
Managing DatoCMS roles within OneLogin
Groups created within OneLogin (at https://subdomain.onelogin.com/groups) cannot be pushed to DatoCMS. Instead, in order for user membership to be managed via SCIM, groups must be created in DatoCMS and imported into OneLogin.
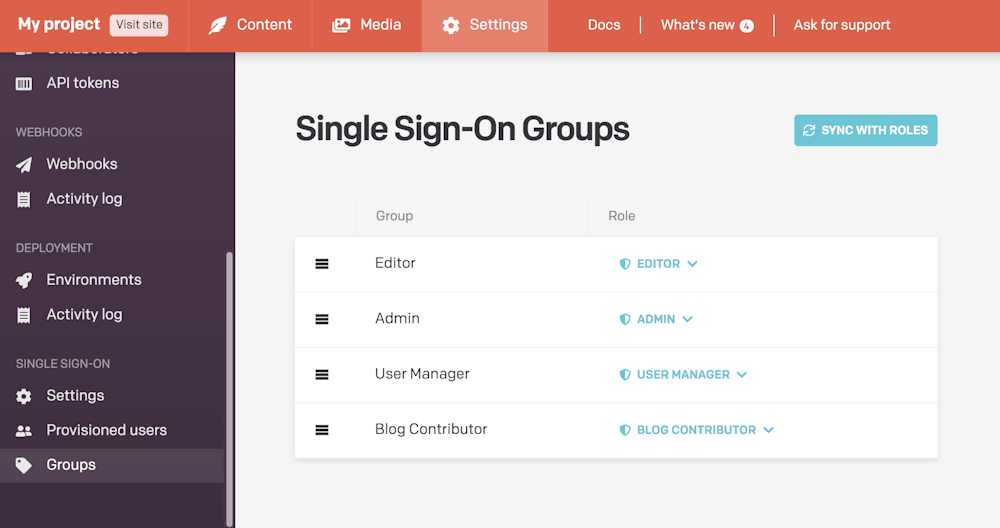
Enter the Groups section in DatoCMS settings, and from there press the Sync with roles button.
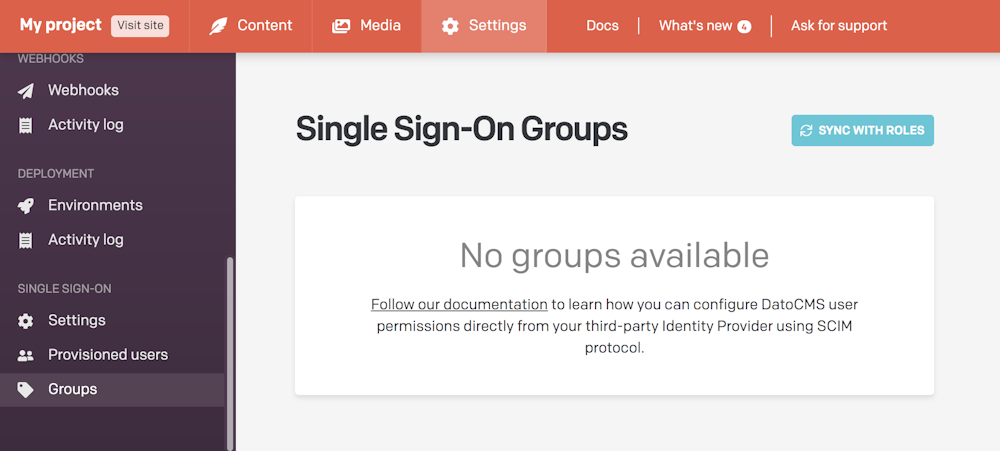
This will create an SSO Group for every role available in the project:
In the Provisioning section of your OneLogin application, press the Refresh button under the Entitlements section:
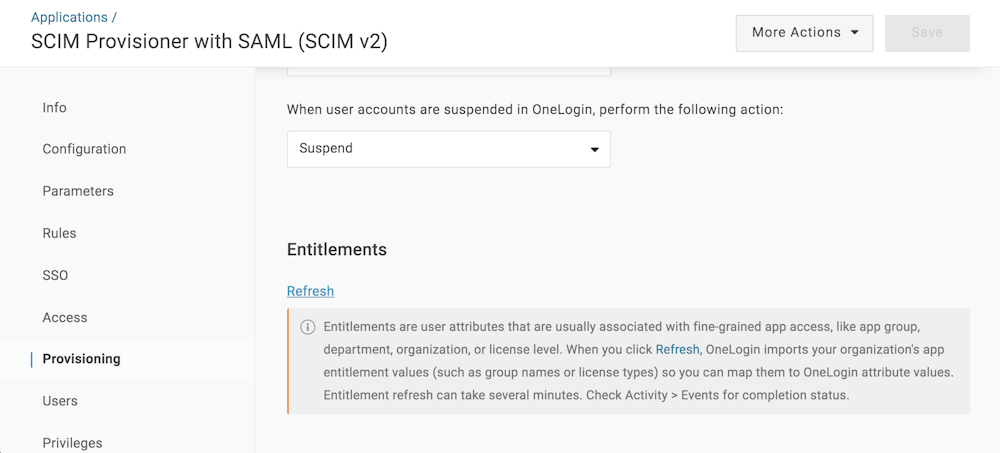
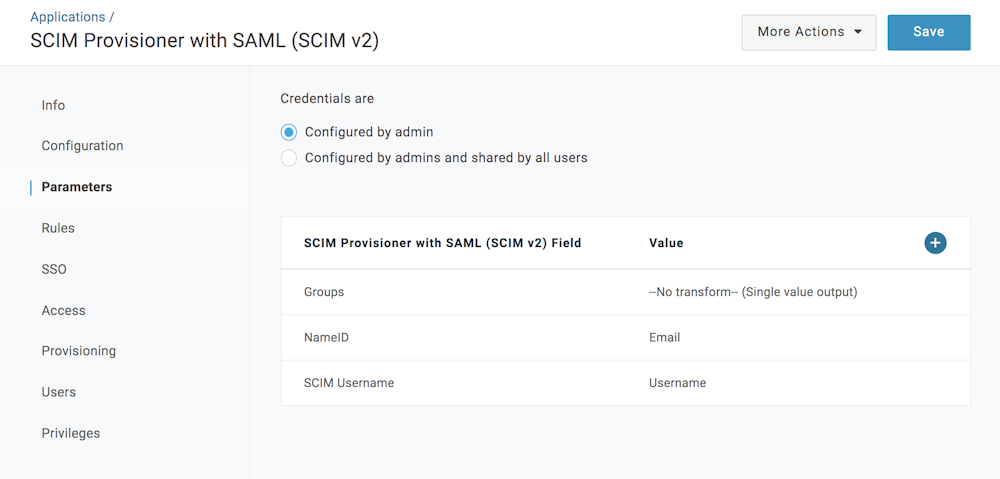
This will import DatoCMS Groups into OneLogin. Now go to the Application > Parameters section in OneLogin, and click on the Groups table row:
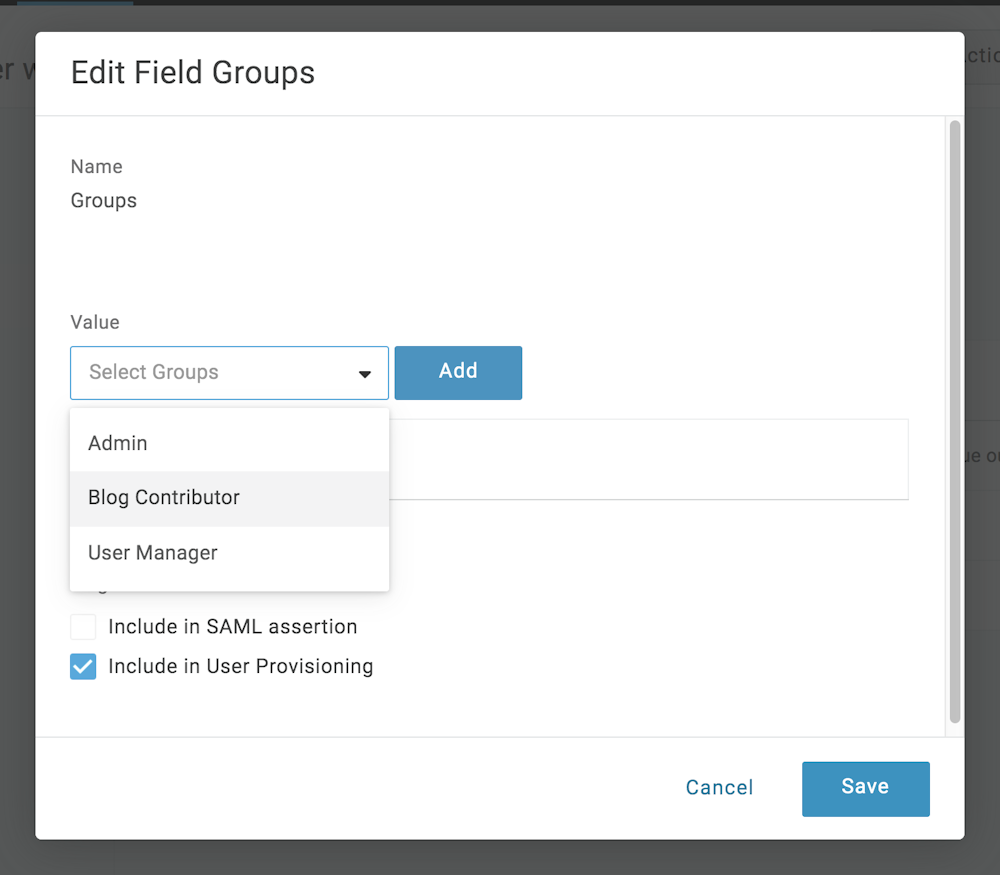
A new modal will be opened. If the integration is working, you should see under the Value dropdown the groups we just created in DatoCMS:
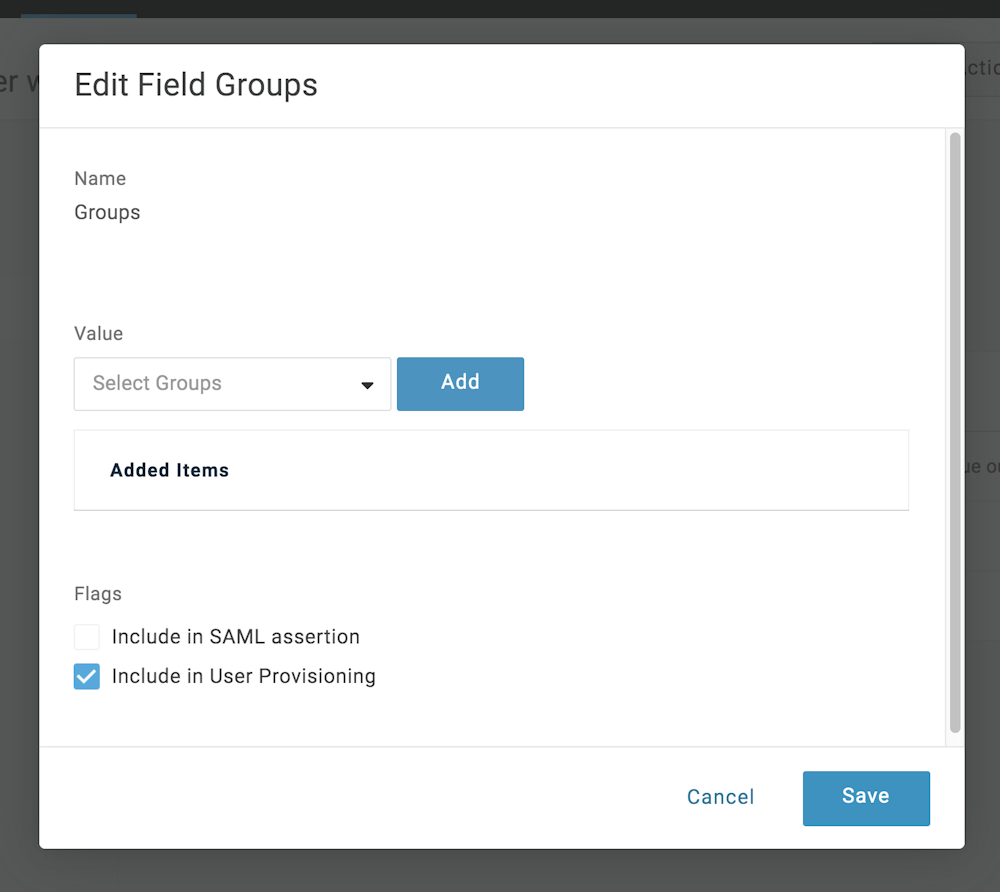
Check the Include in User Provisioning option and hit Save:
Assigning users to groups from OneLogin
Now that the setup is complete, you can proceed assigning users to groups. OneLogin provides various ways to do that.
For testing purposes we can assign a single user under Applications > Users > [click on user name].
From there, you should be able to add one (or more) groups to the user:
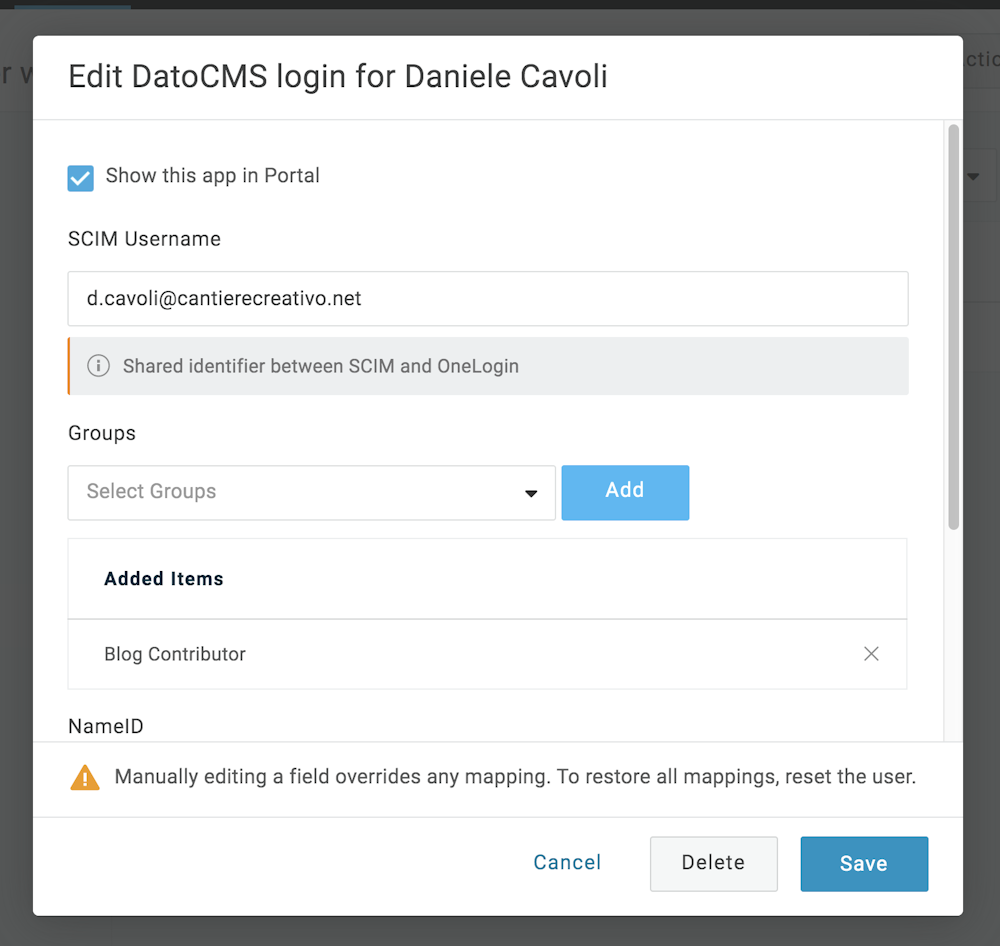
If everything worked, you should now see the correct group associated to the user in DatoCMS:
You can also use OneLogin rules (mappings) to assign users to DatoCMS groups, IAM roles, and entitlements automatically, based on another OneLogin attribute, such as OneLogin Role.
Additional information about assigning groups to users in OneLogin can be found in Mappings.


